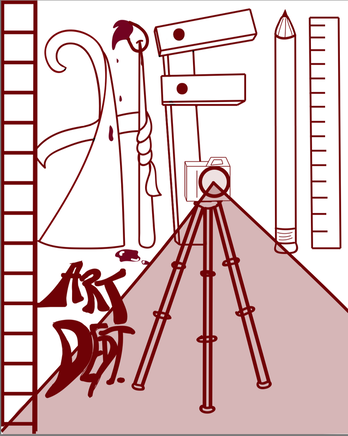
Henry Ford II High School Art Department Designs & UCS Art Department Designs
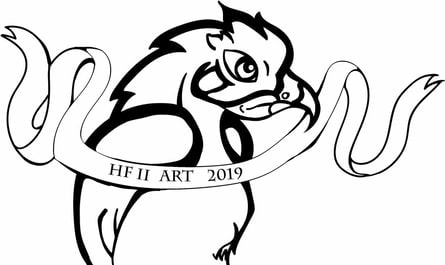
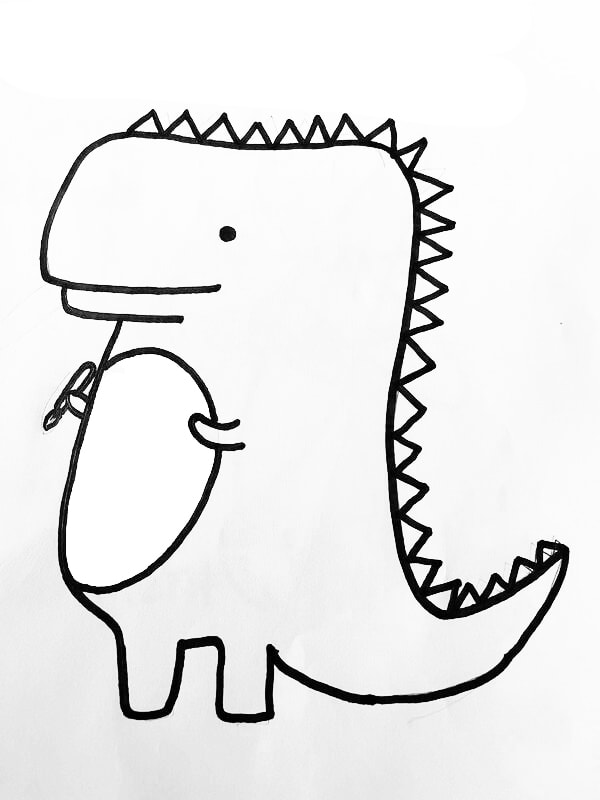
2019 Winning Design
|
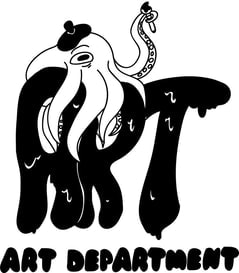
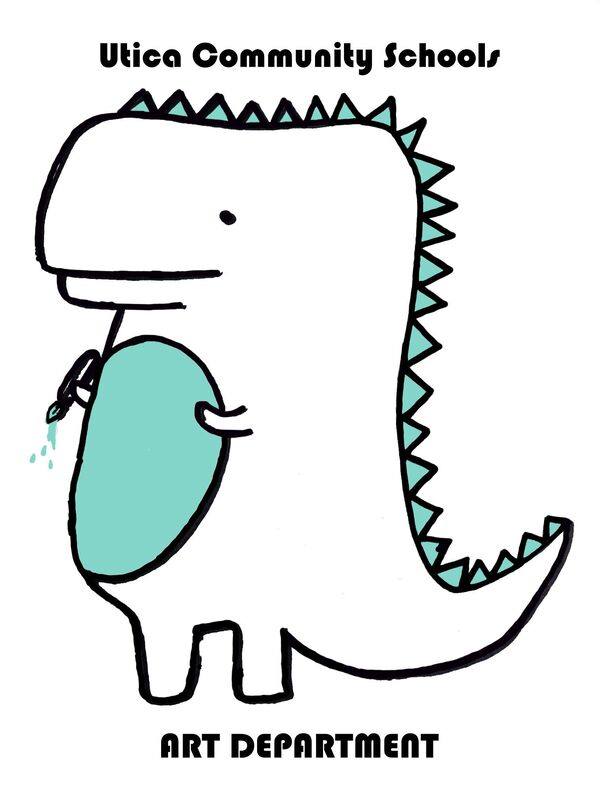
2019 Winning Design
|
Some images are redrawn or traced in Multimedia Class using Illustrator like the 2019 winning designs above.
Create a Design for:
Henry Ford II Art Department
or
Utica Community Schools Art Department
Photograph your drawing |
Add an adjustment layer
|
Convert to black and white & paint white over hand written text |
add typed text
|
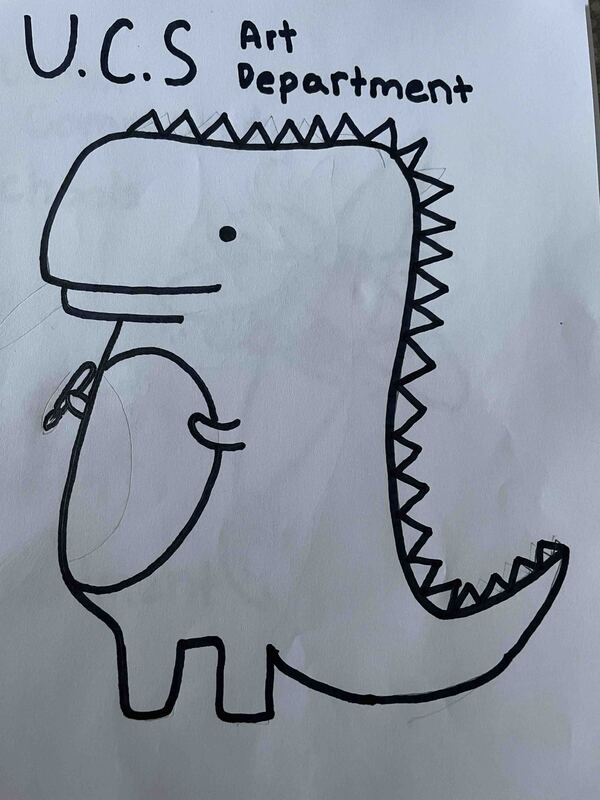
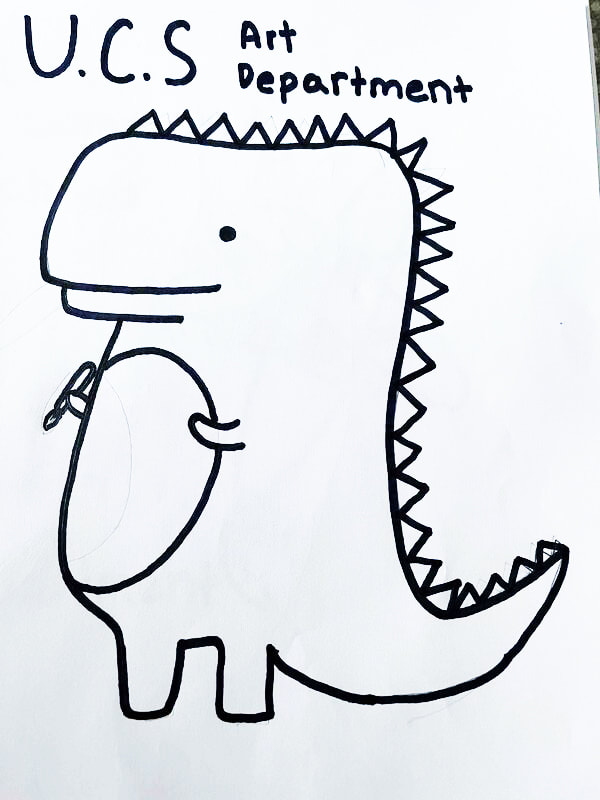
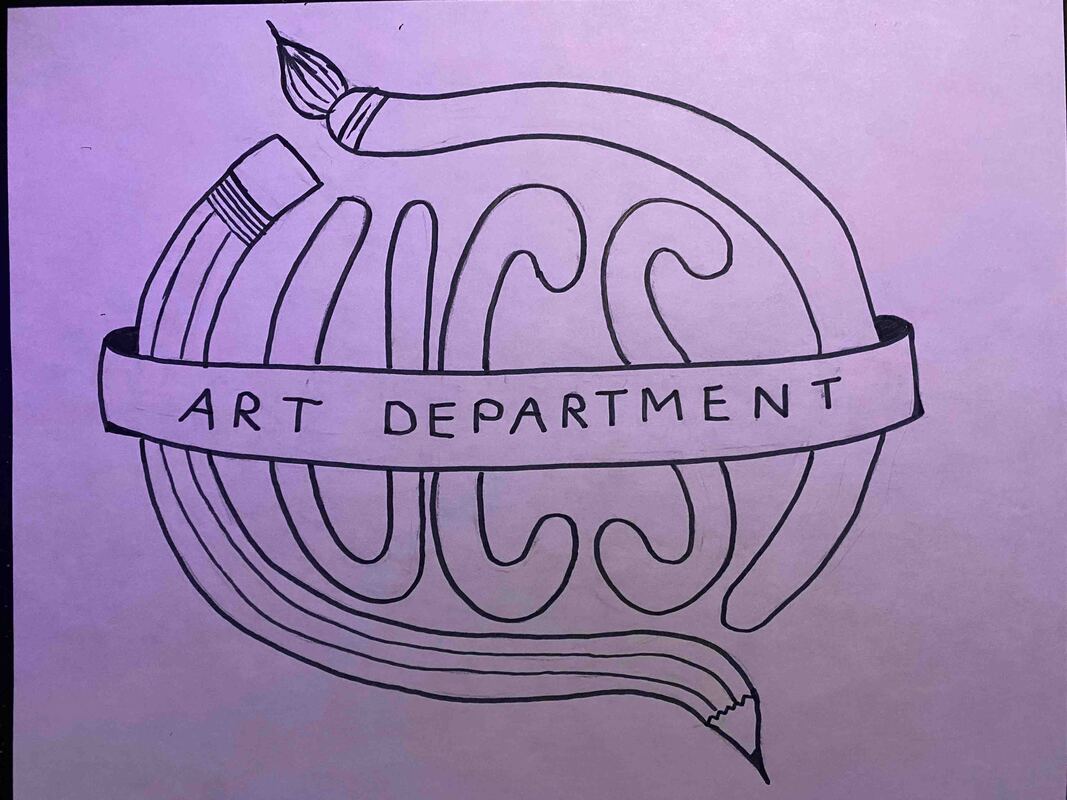
Design by Carter Peacock
Hand Drawn Design Process
Draw the design out by hand on a clean white piece of paper using a black marker.
Make sure not to have pencil marks or lines on your paper.
Photograph your drawing in good light.
Hand that drawing in as a jpeg.
Great Drawing & Great Lighting for Photo by Nina Vinch
|

|
Taking photos with poor lighting might produce colors you do not want and makes editing more difficult.
Pencil should be avoided, grayscales do not print to T-shirts well using one or two colors of ink.
Shoot in Good lighting.
Add a Black and White Adjustment layer in Photoshop.
Add a Brightness and Contrast Layer in Photoshop.
Pencil should be avoided, grayscales do not print to T-shirts well using one or two colors of ink.
Shoot in Good lighting.
Add a Black and White Adjustment layer in Photoshop.
Add a Brightness and Contrast Layer in Photoshop.

Great drawing - Poorly lit photo
|

adjustment layers for both black and white
|

Bralelyn Pietz's photo of her design.
|

Photo converted to black and white and cropped.
|
Photoshop Process
Create a new document 8 1/2" x 11" with 300 dpi
1. File - Place Embedded - choose your photo to insert it in your 8 1/2" x 11" file.
2. Edit - Transform - to adjust size or angle of any layer or photo.
3. Create an adjustment layer of black and white following the video below.
4. Create an adjustment layer for the brightness and contrast in the same way.
Convert your photo of your drawing in to a Black and White image.

5. Next Retouch and clean up your image using techniques in the videos below.
6. Change any text that is not artistic into typed fonts that are legible (easy to read).
7. File - Save As - name your file and save a working psd file with layers.
8. File Export - Export As - Change png to jpeg (format)
Hand both your jpeg and psd in for your grade:
Last Name_First Name_Hour_Art Logo.jpeg
Last Name_First Name_Hour_Art Logo.psd
Remove Small Objects / Add Objects by Cloning
/ Remove a Large Object

In the third video If the "Fill" button is greyed out when removing a large object: Right click on the layer to "Convert to Smart Object" then Right Click on the Layer to "Rasterize the layer" then right click on the layer to "Fill" the object.
How to add and edit text in Photoshop

Save two copies in black and white. A working psd file and a jpeg file.
Often we go back and add a color in Photoshop after all edits are done.
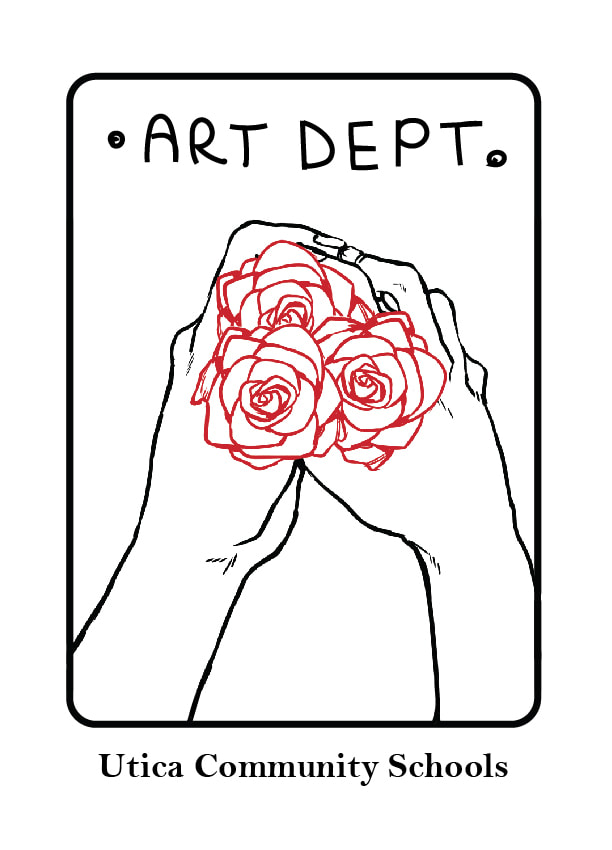
Utica Community School Art Department design by Sarah Major
|
|

|

|
