Create an interesting and artist Layered Paper Ring
Draw, color and plan your colors, shape and sculptural design first.
Don't make it boring this is art class. Your grade depends on it.
Remember to sculpt your ring using sharp angles to show as many layers of colors as possible.
You are graded on:
Creativity
Craftsmanship
Following Directions
Effort
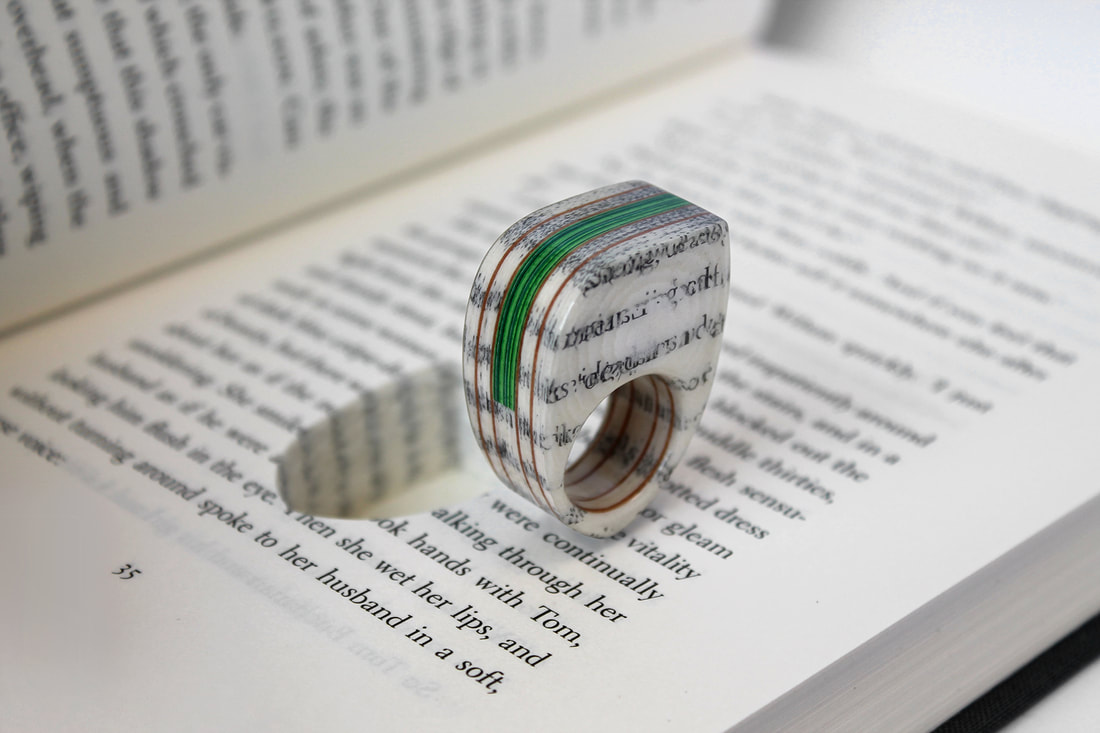
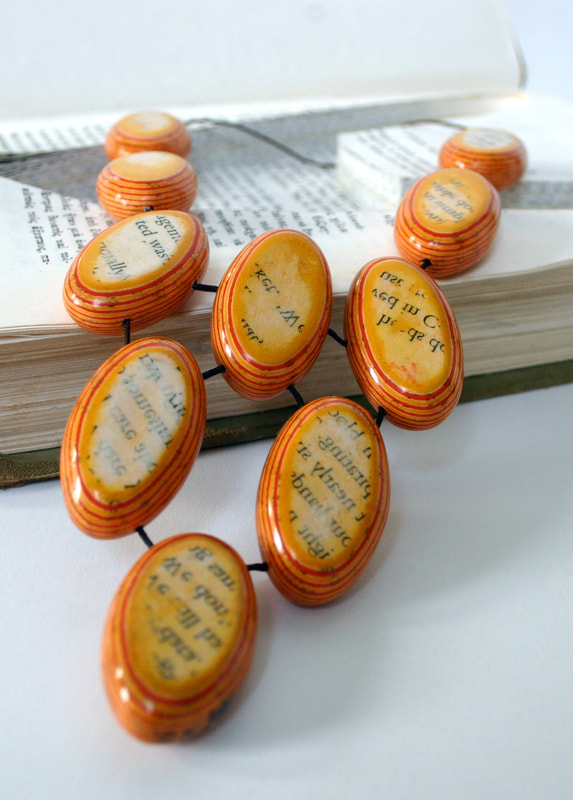
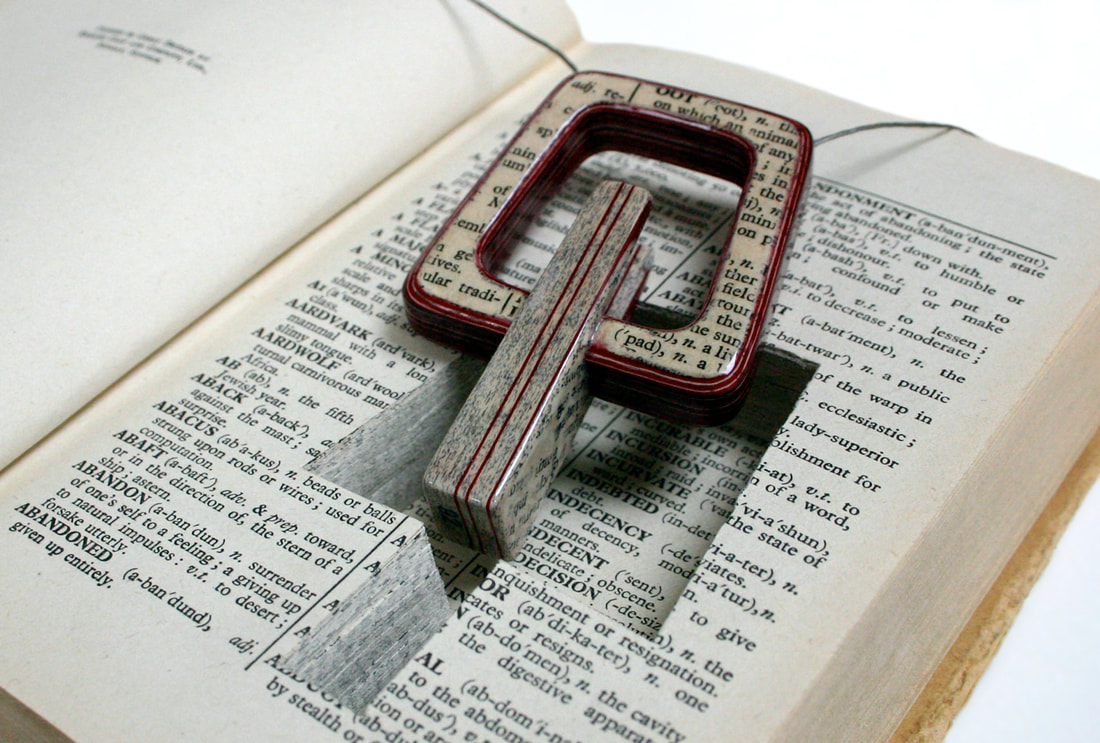
Jeremy May
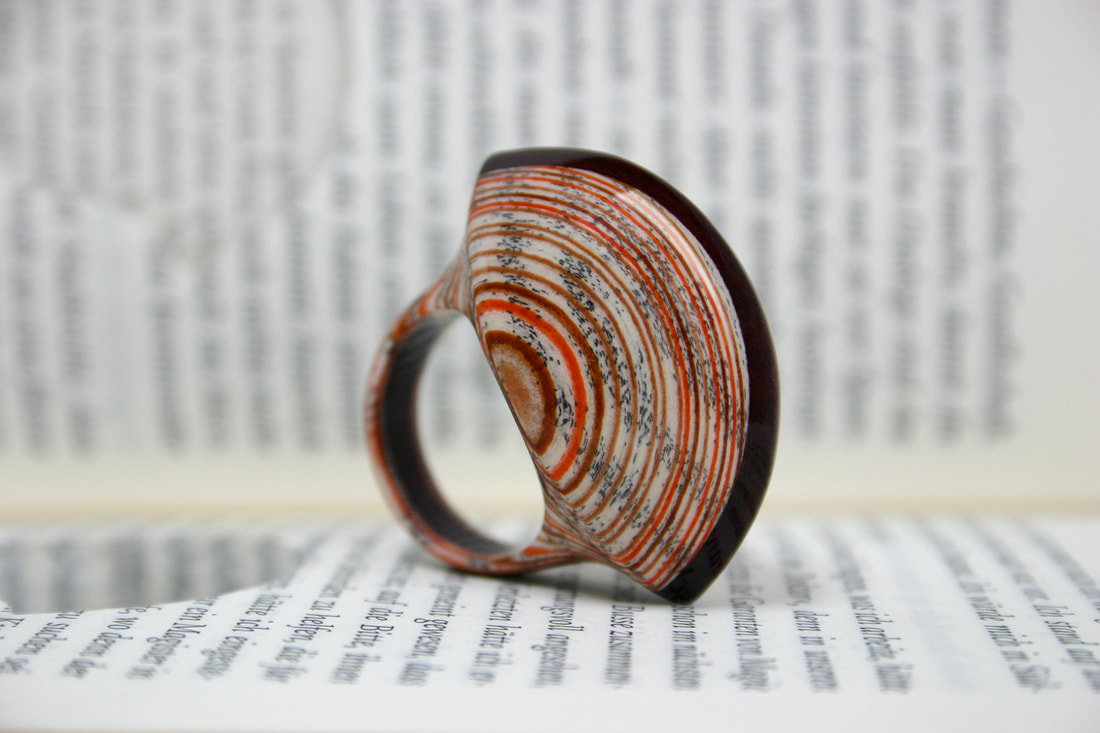
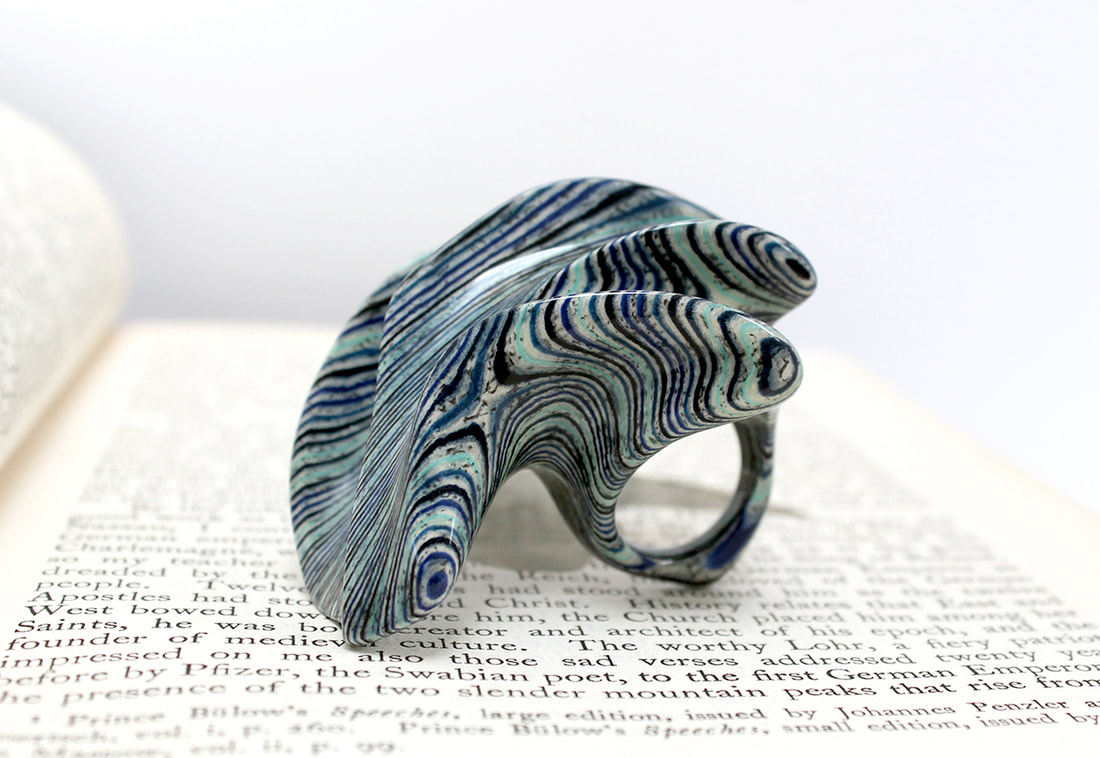
artist creates Layered Paper Jewelry cut from old books
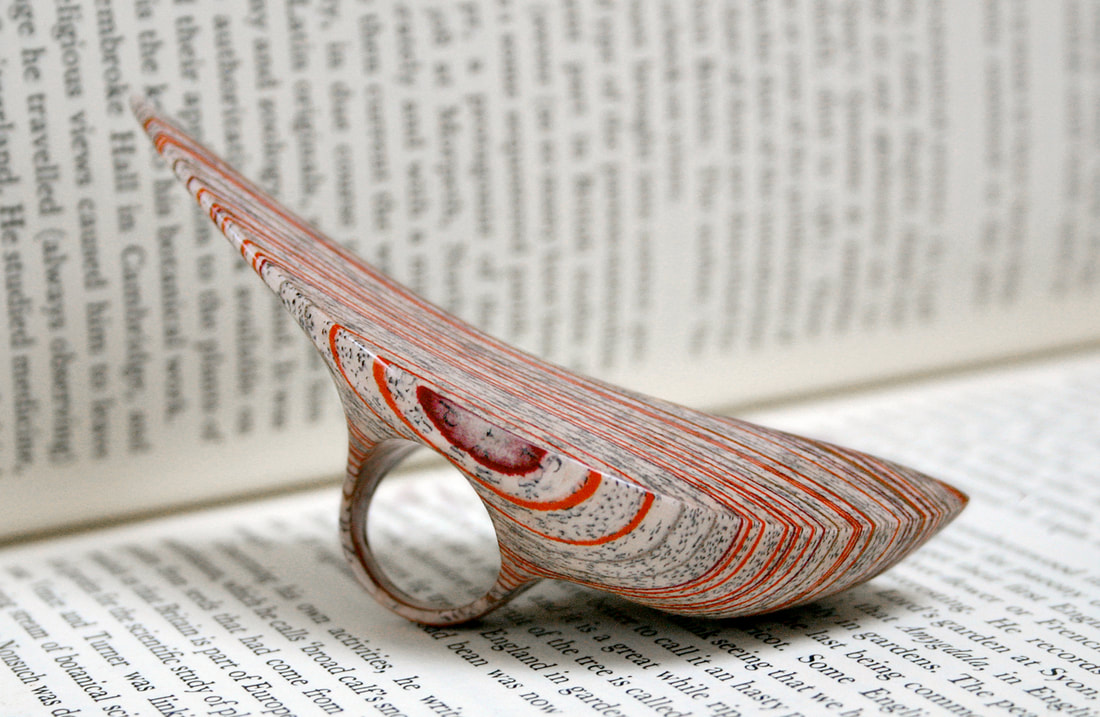
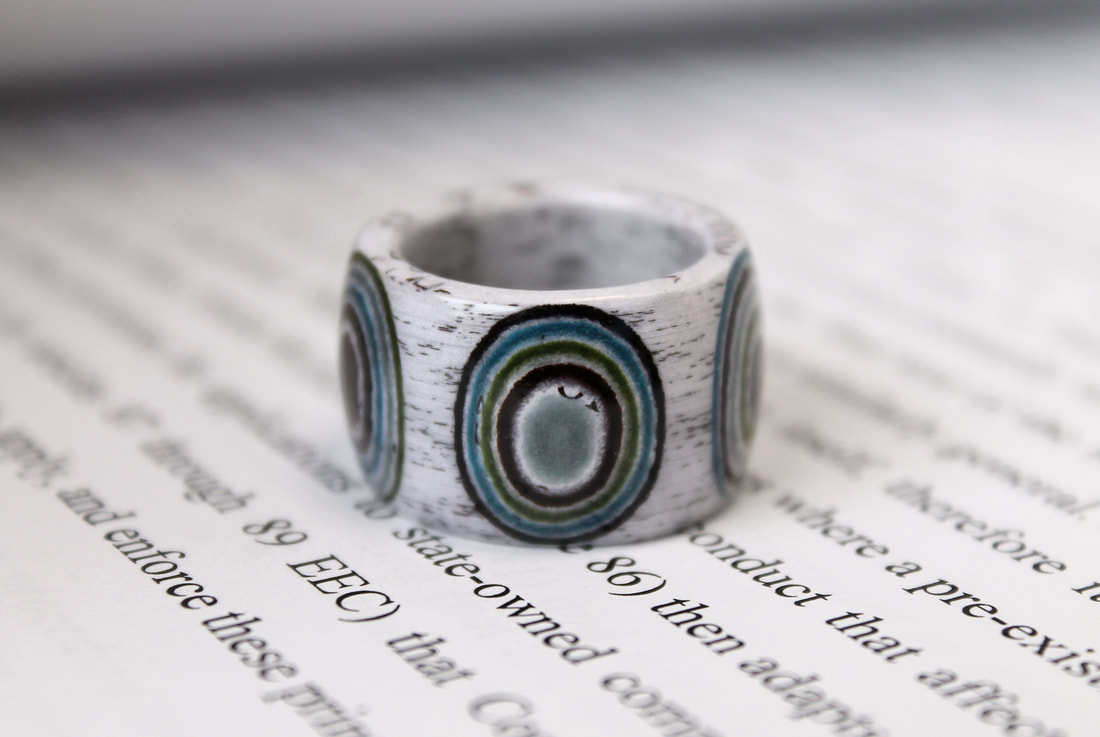
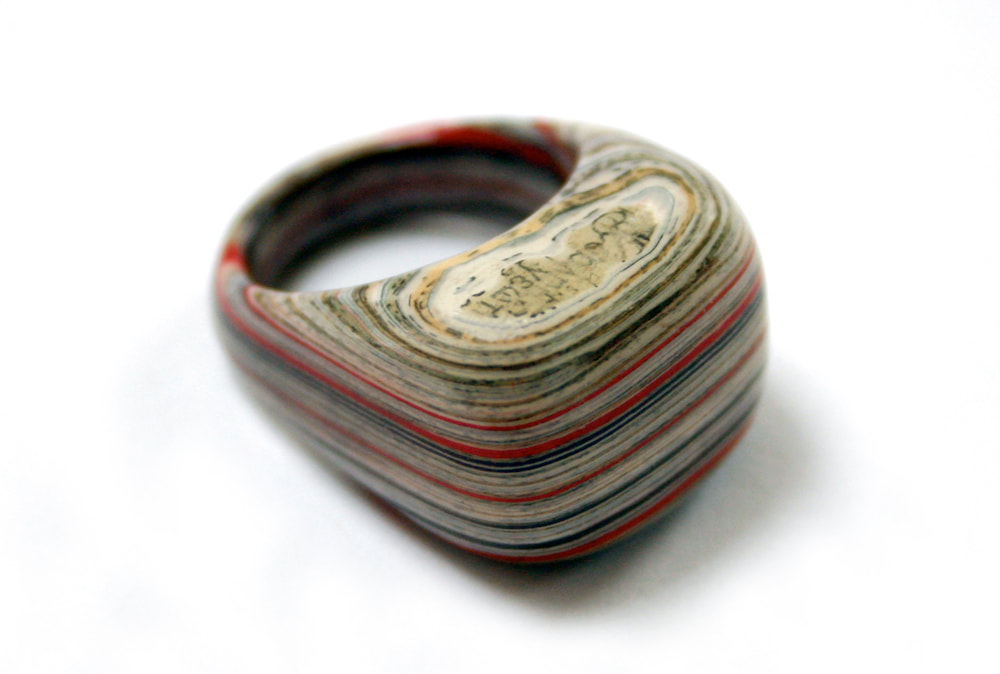
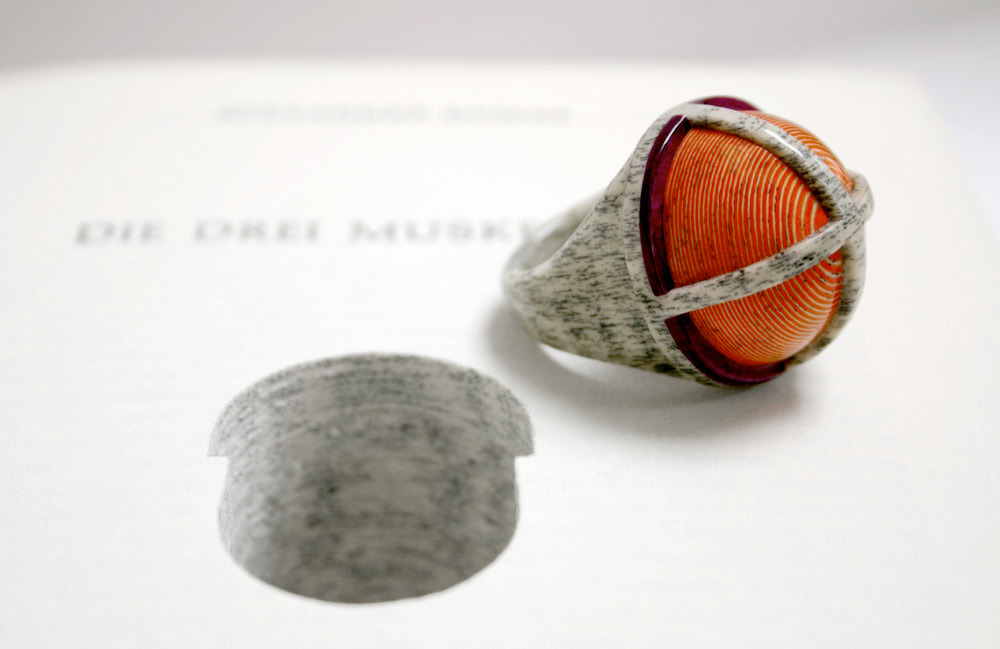
Sculptural Paper ring my the artist Jeremy May.
Wrapping paper around your finger and gluing works... if you to not wrap it too tightly and make sure to provide a lose piece of paper under your finger so the ring will slide off you hand.
Don't glue the ring to your finger!
Often using a tool handle or a dowel rod about the right size will give you a more even look. Extra paper can be glued inside if your ring is too lose. remember we will put two coats of clear coat on both the inside and outside of your ring.
Process
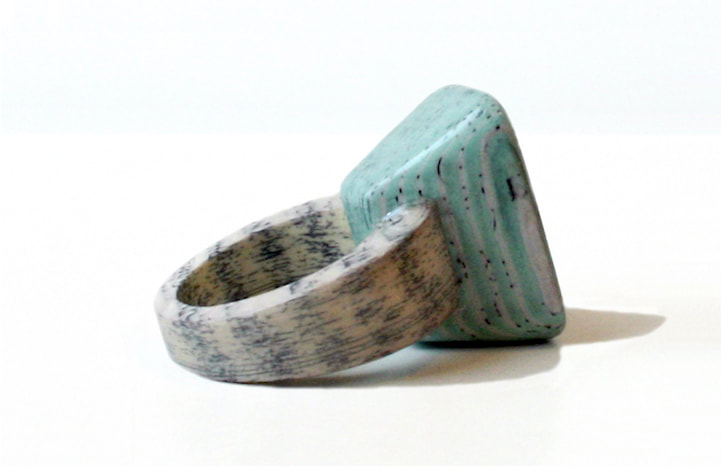
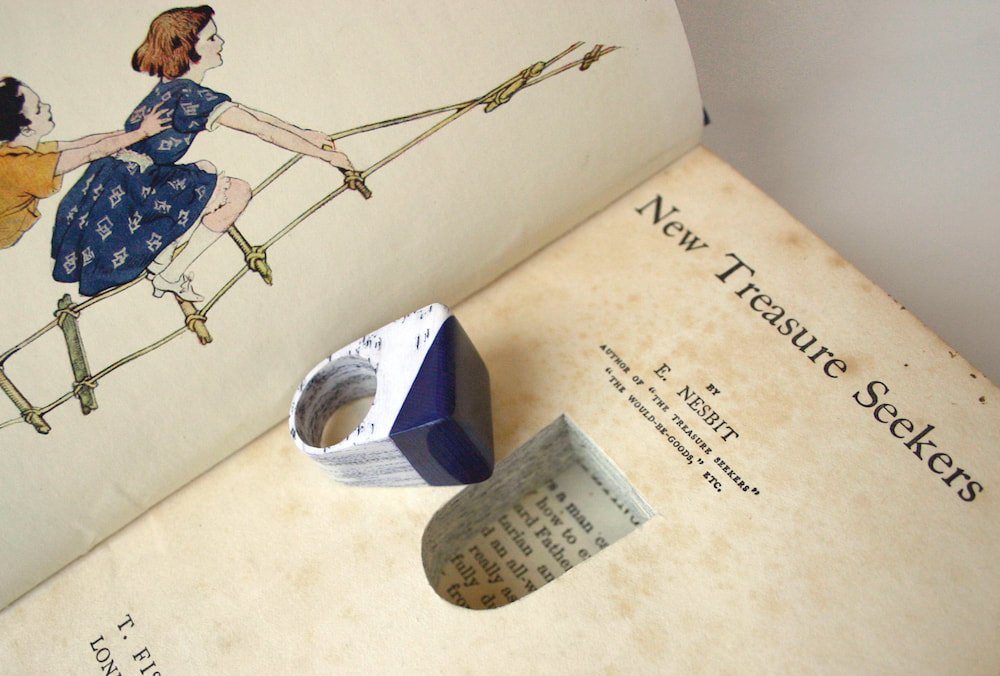
The rings we are making will be created from two main parts.
1. A top piece your "gem stone"
2. the band
You must cut them to match up perfectly or band them together and glue them with supporting papers.
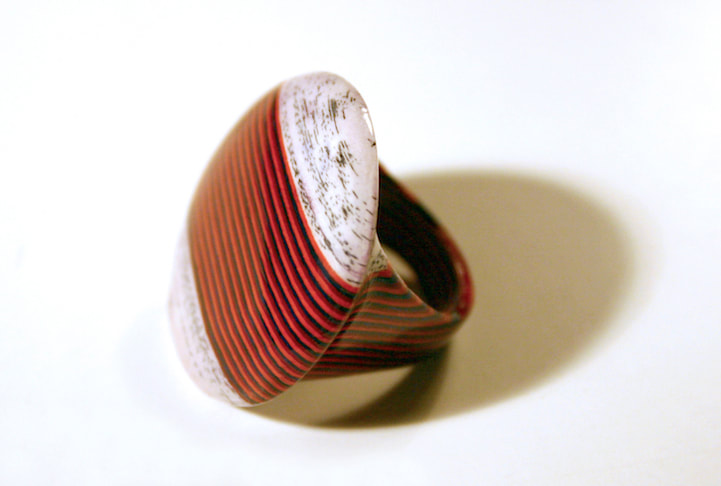
This band was made from newsprint and the top "gem stone was made from light blue construction paper and magazines.
Notice how this colorful swirled top paper "gem stone" was carefully cut and sanded to fit the newspaper band.


|

|
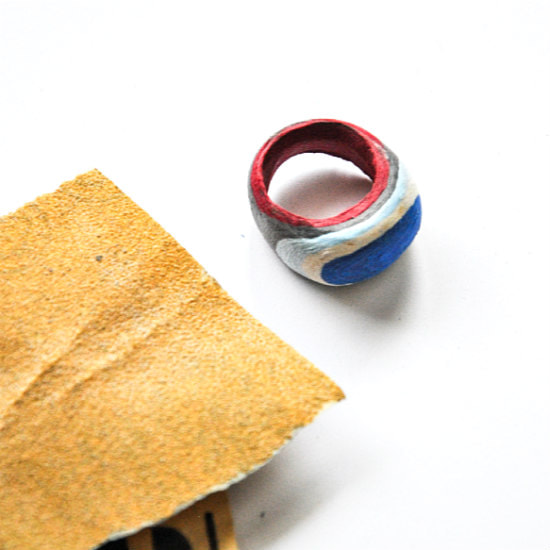
Easy was to make a ring band.
Wrapping a ring around an object or loosely around a finger is often much easier to size than drilling a hole and trying to sand the inside to the size of your finger.

|

|
We use Elmer's school glue to glue construction paper, magazine paper, newspaper or any brightly colored papers together.
Often gluing 5 or more sheets of the same colored paper looks best because you get bold colors that you can see. If you like the grey or speckled look that comes from newspaper text.

|

|
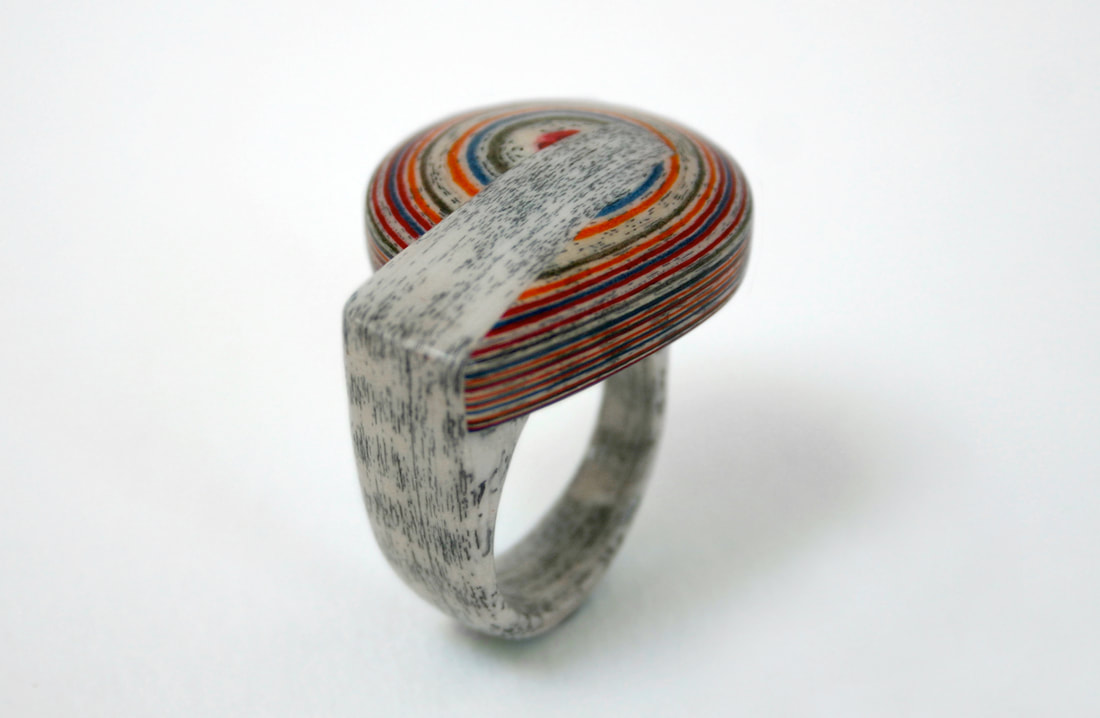
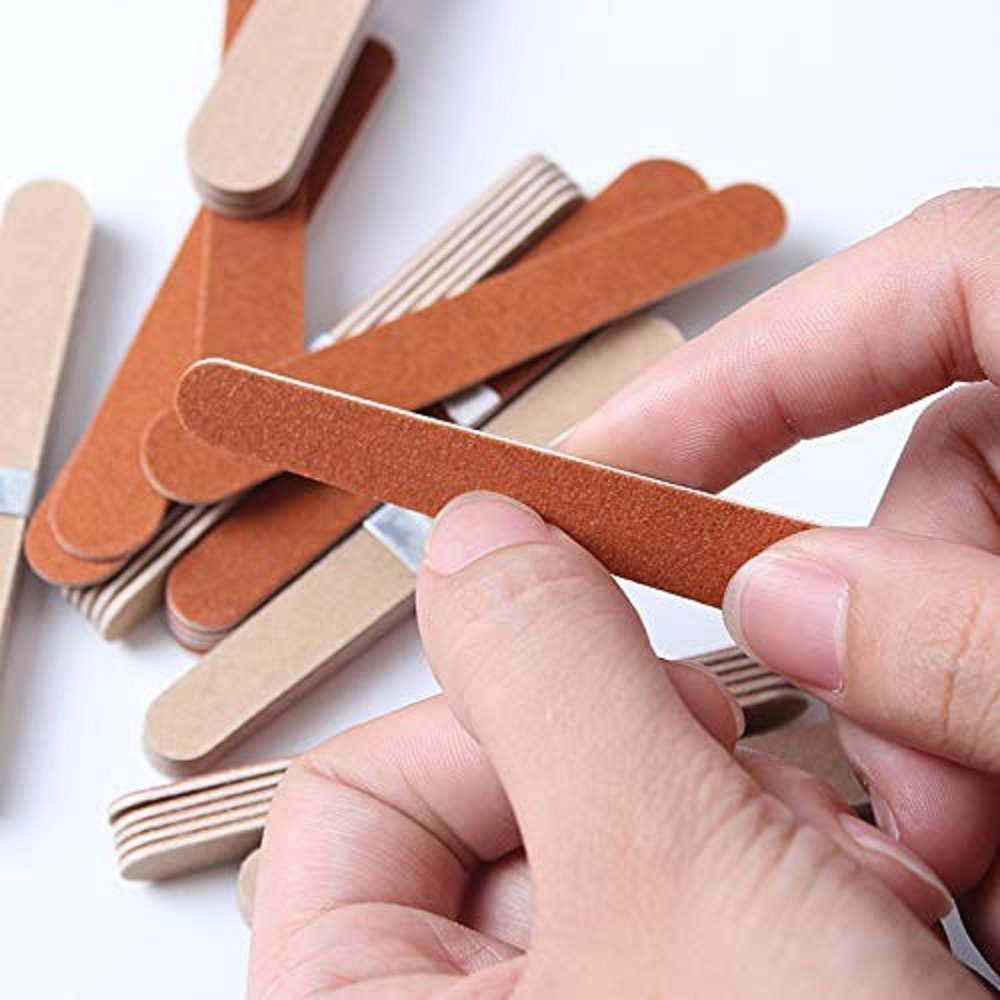
5. Using a file or rough sand 60 or 100 grit paper at an angle to show the layers of color is what takes the majority of the time and makes your artwork more interesting and colorful. Often an emery board for nails works great too!

|
|
|
Refine with a fine sand paper, such as 200 or 400 grit.

|

|
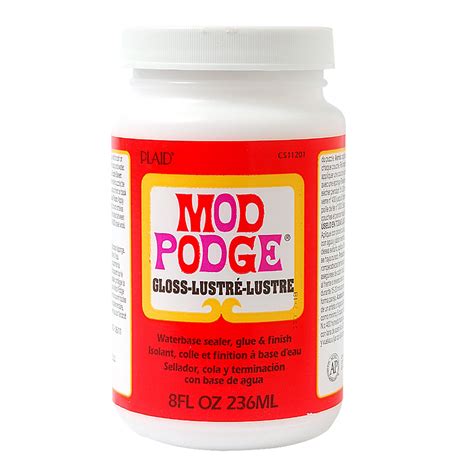
6. When done paint a layer of a clear protective coating to make your jewelry shine let it fully dry and apply a least a second coat of the clear protective coating. Often students will use clear nail polish, Mod-Podge or clear acrylic paint.

|

|
|
Clear Nail Polish often creates a cleaner, clear look that student tend to love.
Clear acrylic and Mod Podge work but are not crystal clear.
Professional artists will use varnish or a clear epoxy resin.
Clear acrylic and Mod Podge work but are not crystal clear.
Professional artists will use varnish or a clear epoxy resin.
Drilling a hole provide a diverse look but is much harder with out a drill press and drill bits that fit the exact size of your fingers. This is not recommended since we do not have the proper size drill bits or a drill press in art class.

|
|
Drilling a hole also requires sanding the inside until it fits the size you want to make your ring. Professional artist will use a drill press and clamp the ring down to create this type of look.
We do not have a drill press available to you in the art room.
It is possible to drill a hole into the middle of your paper jewelry to file away from the inside too.

|

|

Student Work
Layered Paper Jewelry Part 2
Create an interesting shaped Layered Paper Jewelry Project.
File your edges at sharp angles to expose as many layers of color as possible.
Make sure that your project is completely finished, mounted, or that you have created a wire base to hang or stand up your project.
Be creative! Some students have made...
Bracelets, Earrings, Necklaces, Pendents, Pins, 3-D Sculptures
Make sure you know how you are going to finish it. Some students make small sculptures that stand up on their own. Necklaces and bracelets often have string glued into the projects connecting the pieces together. Maybe you have an old key chain, pin or necklace you can use to mount your new artwork to create the finished look. Or create your own mount out of wire in class.
You are graded on:
Creativity
Craftsmanship
Following Directions
Effort
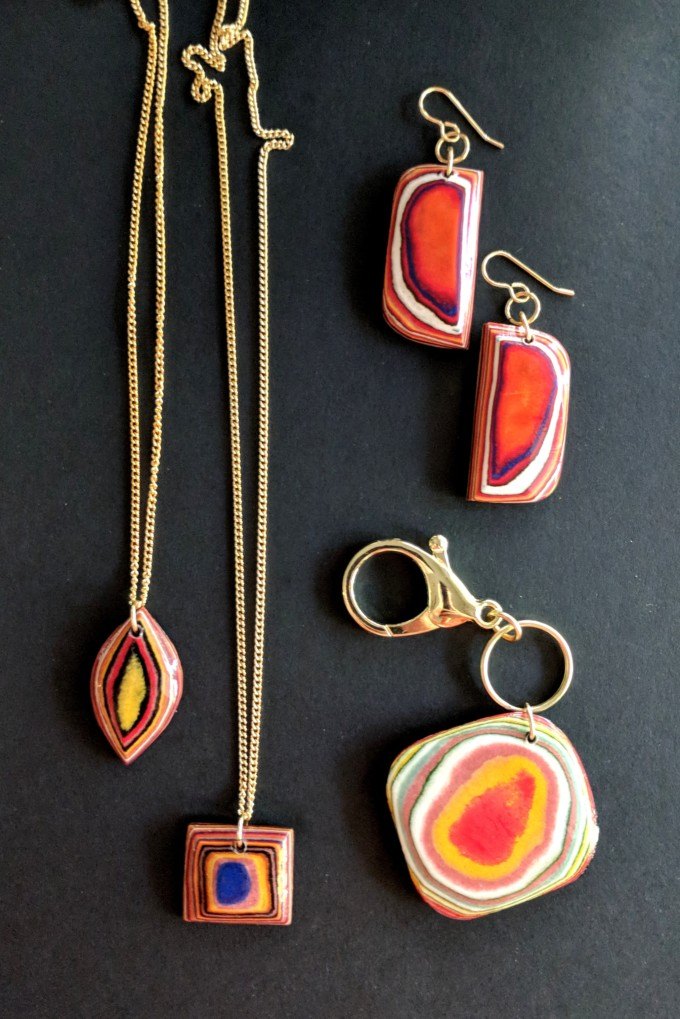
By adding old jewelry findings such as a key chain , earring loops, or a necklace with a link, or a key chain creates a finished look for your artwork.
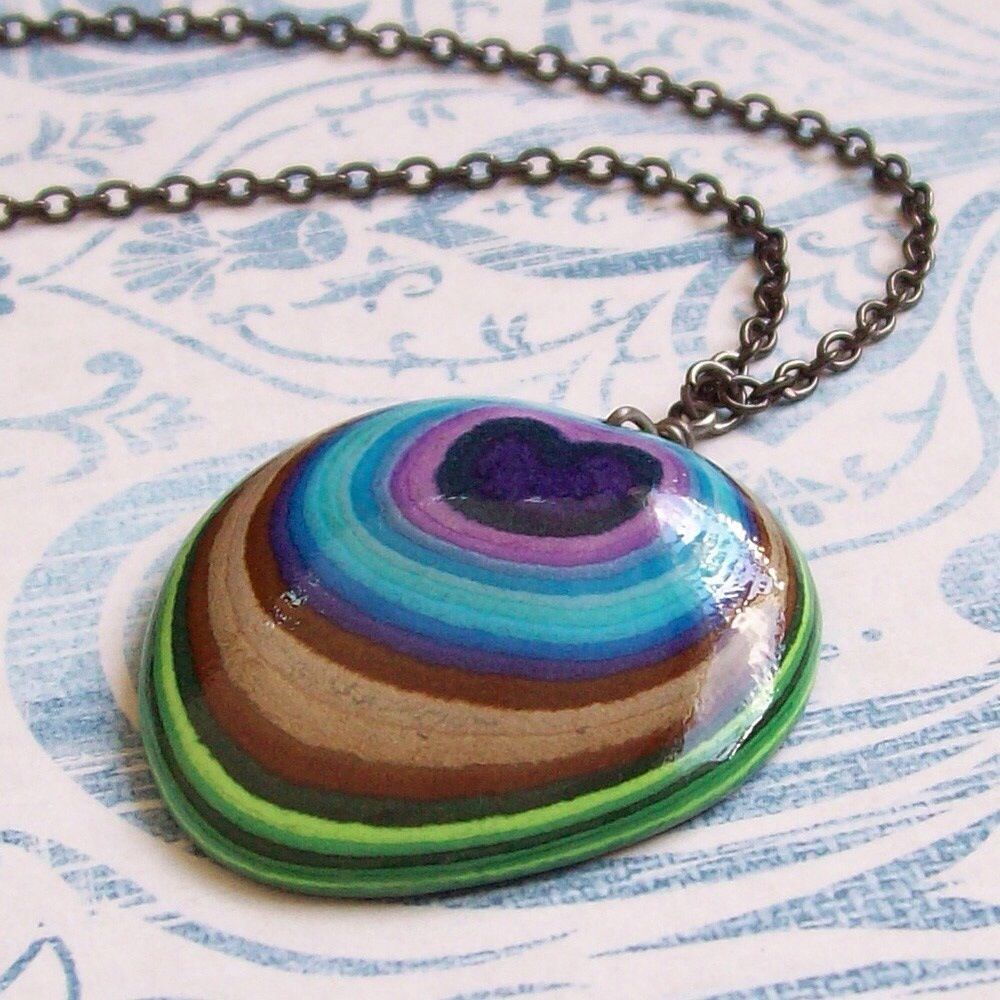
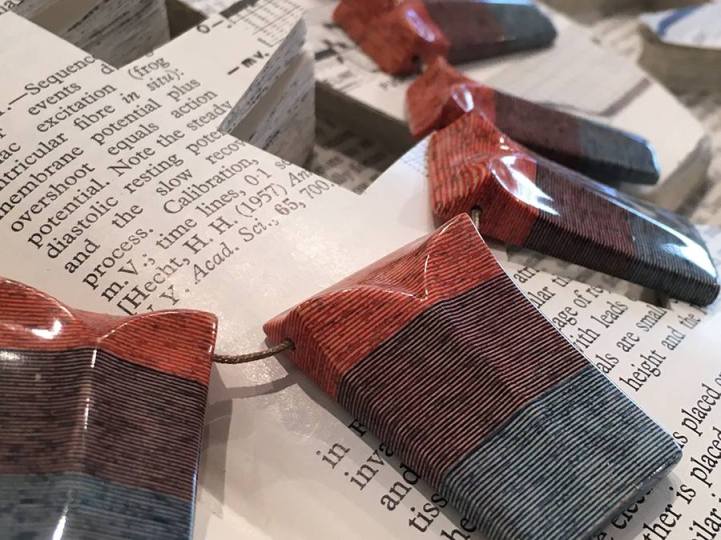
The more you file the sides at an angle the wider variety of colors show. Notice how the artist filed the top layer into the shape of a heart. |
|
Necklaces and Bracelets
Necklaces and Bracelets often have multiple match pieces.
Notice how the string for the bracelet is glued into the middle of the project.
The holes for this necklace were carefully drilled after the pieces were finished.
|
|
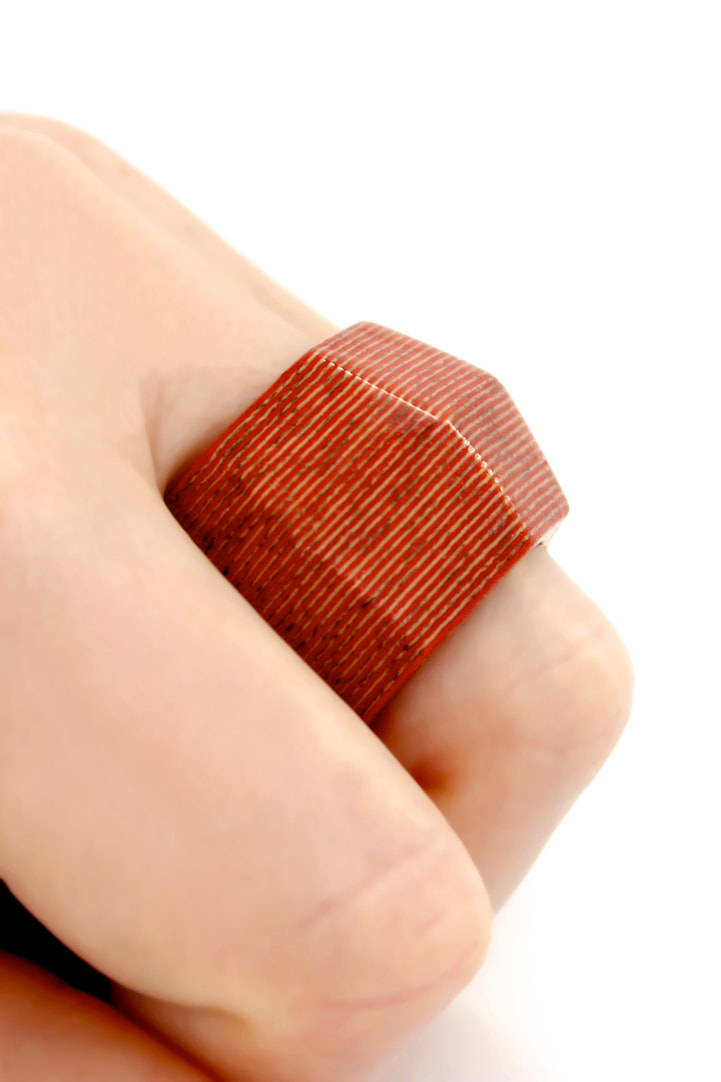
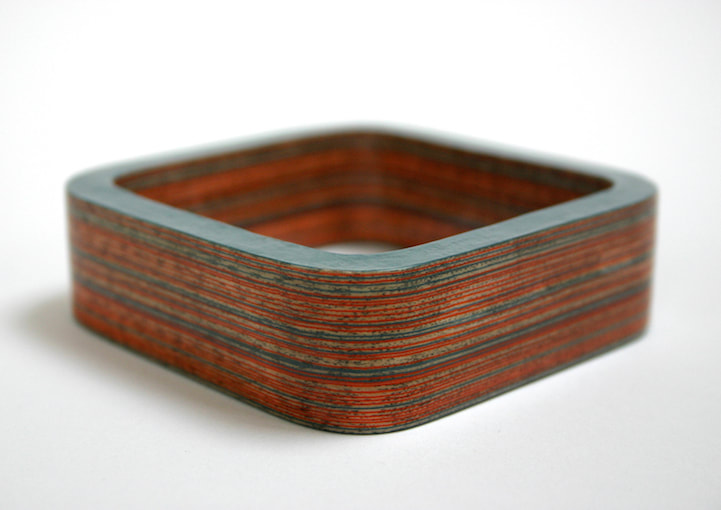
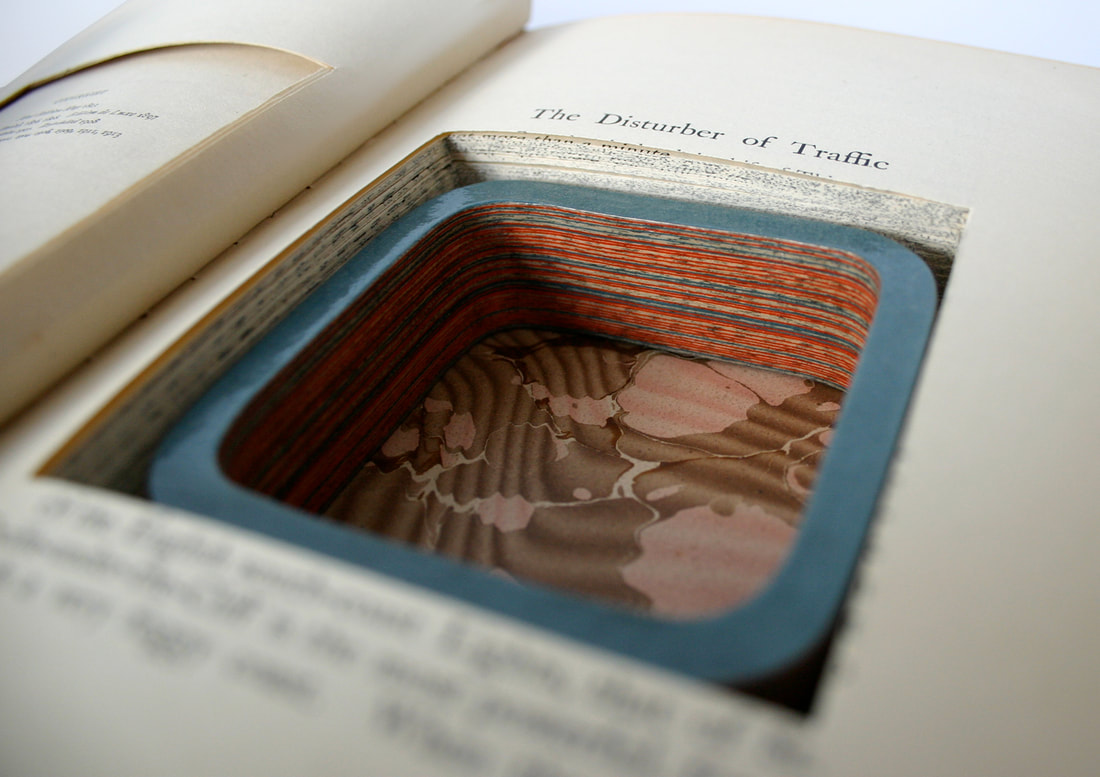
Square layered paper bracelet cut from a book,
now the book is the case for the bracelet.
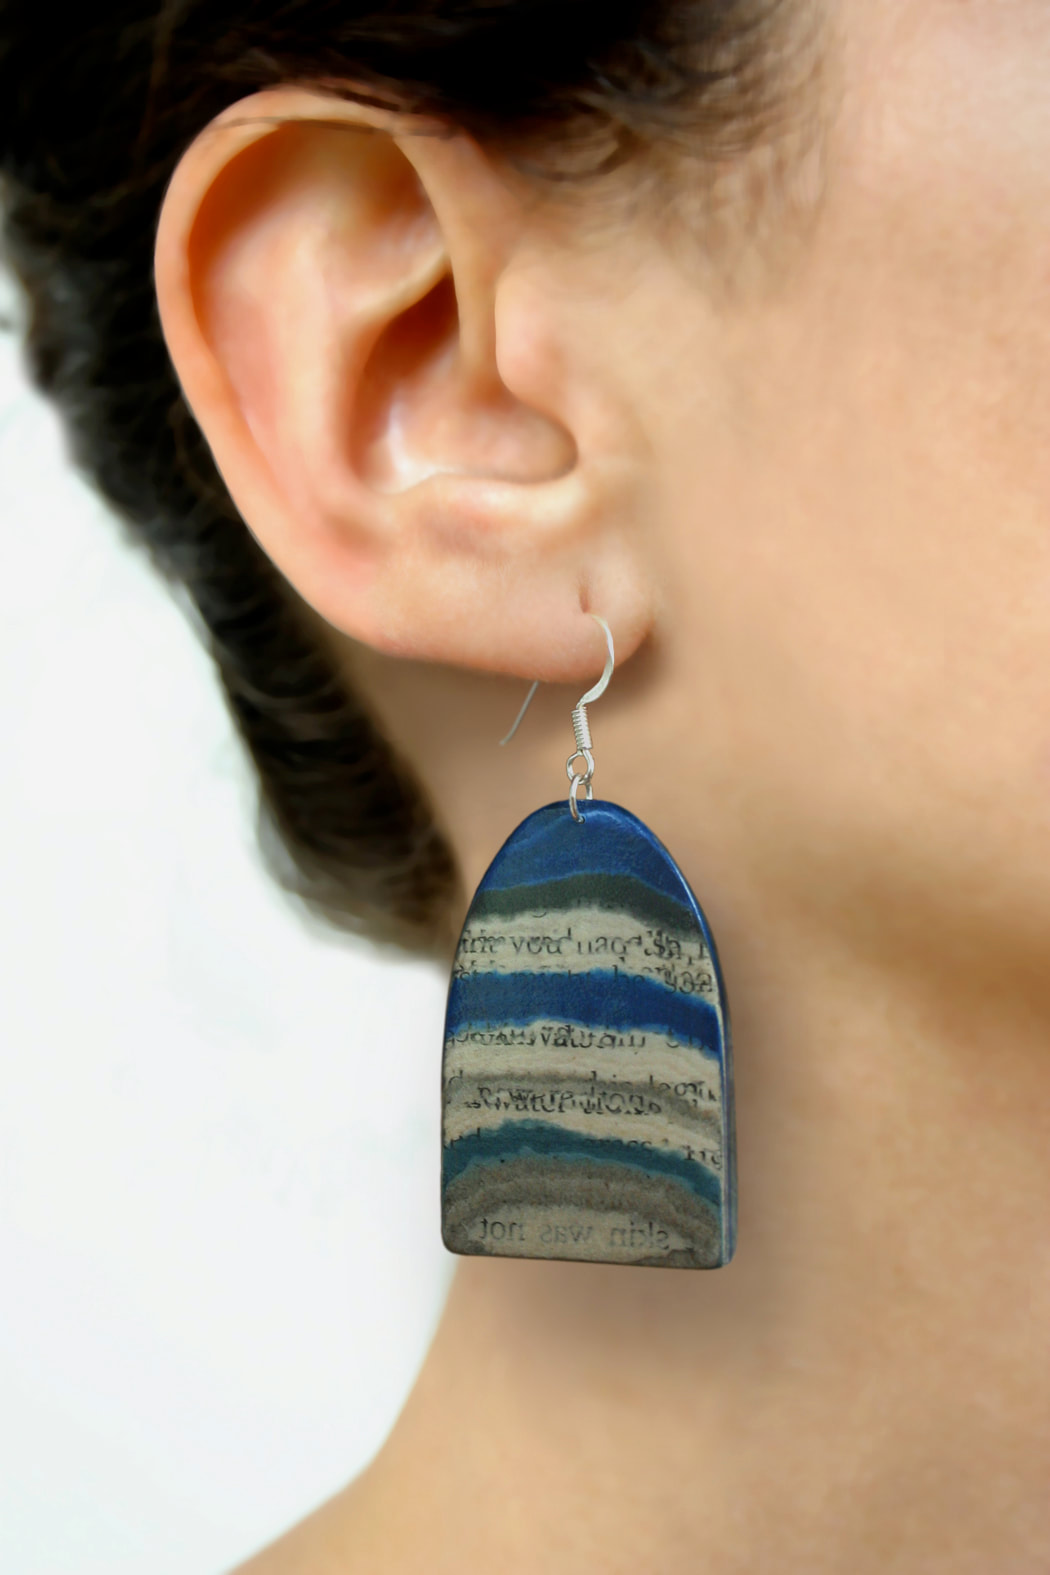
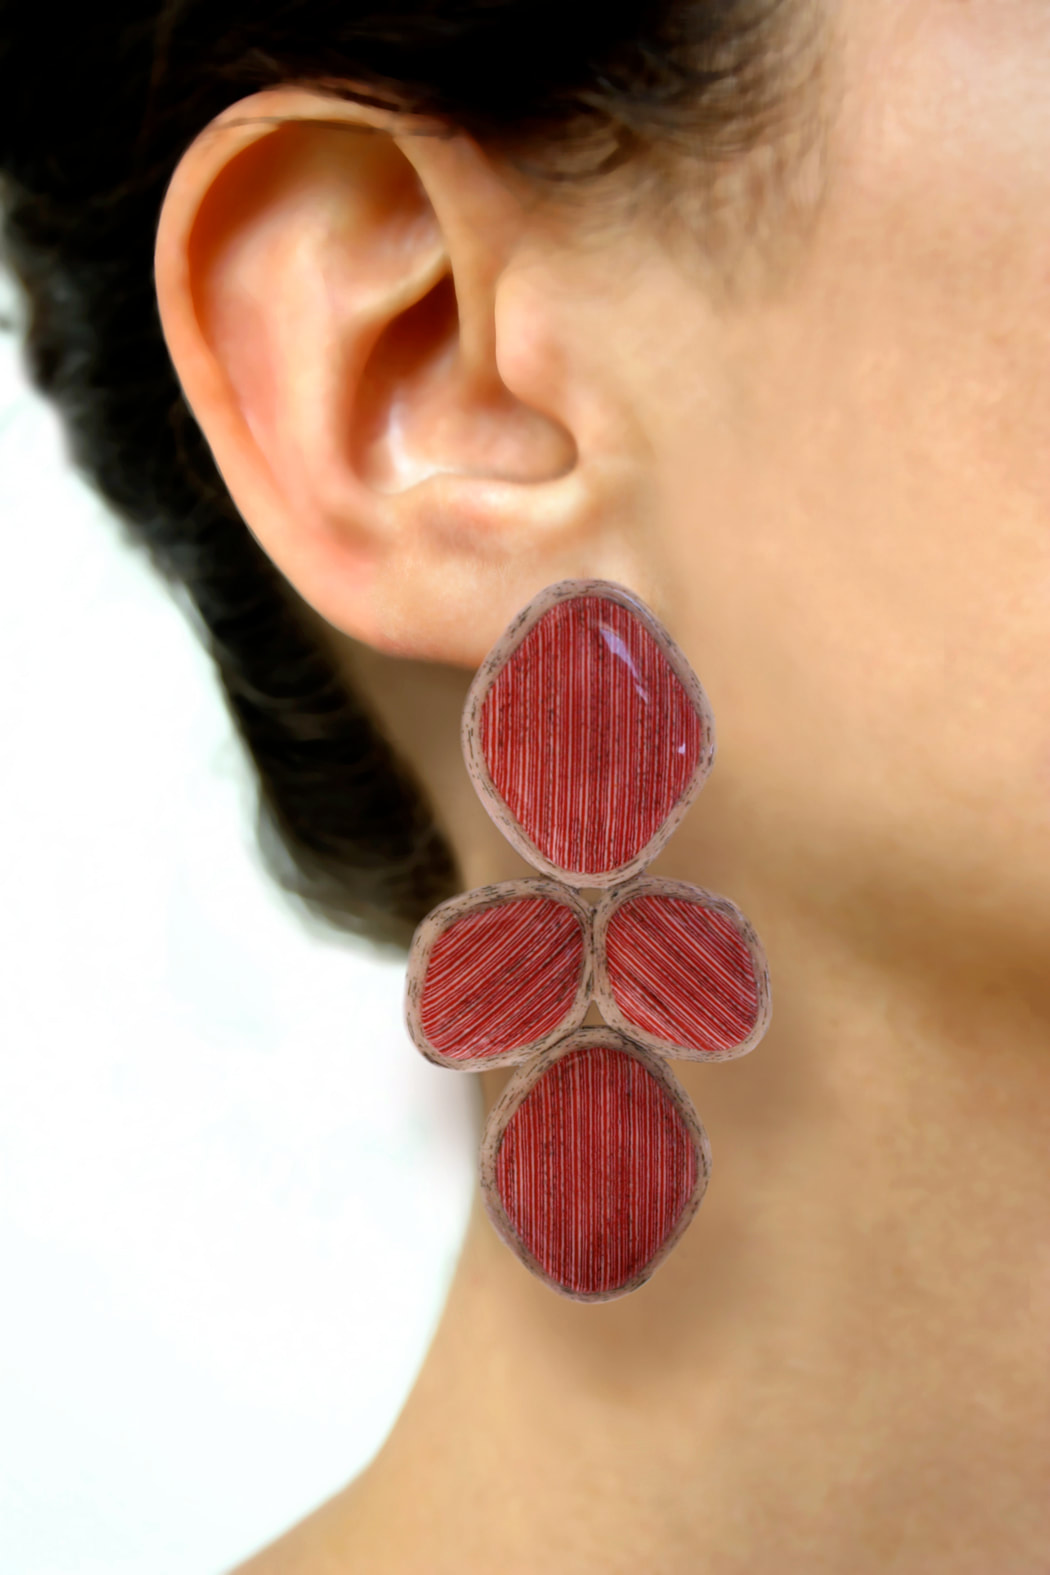
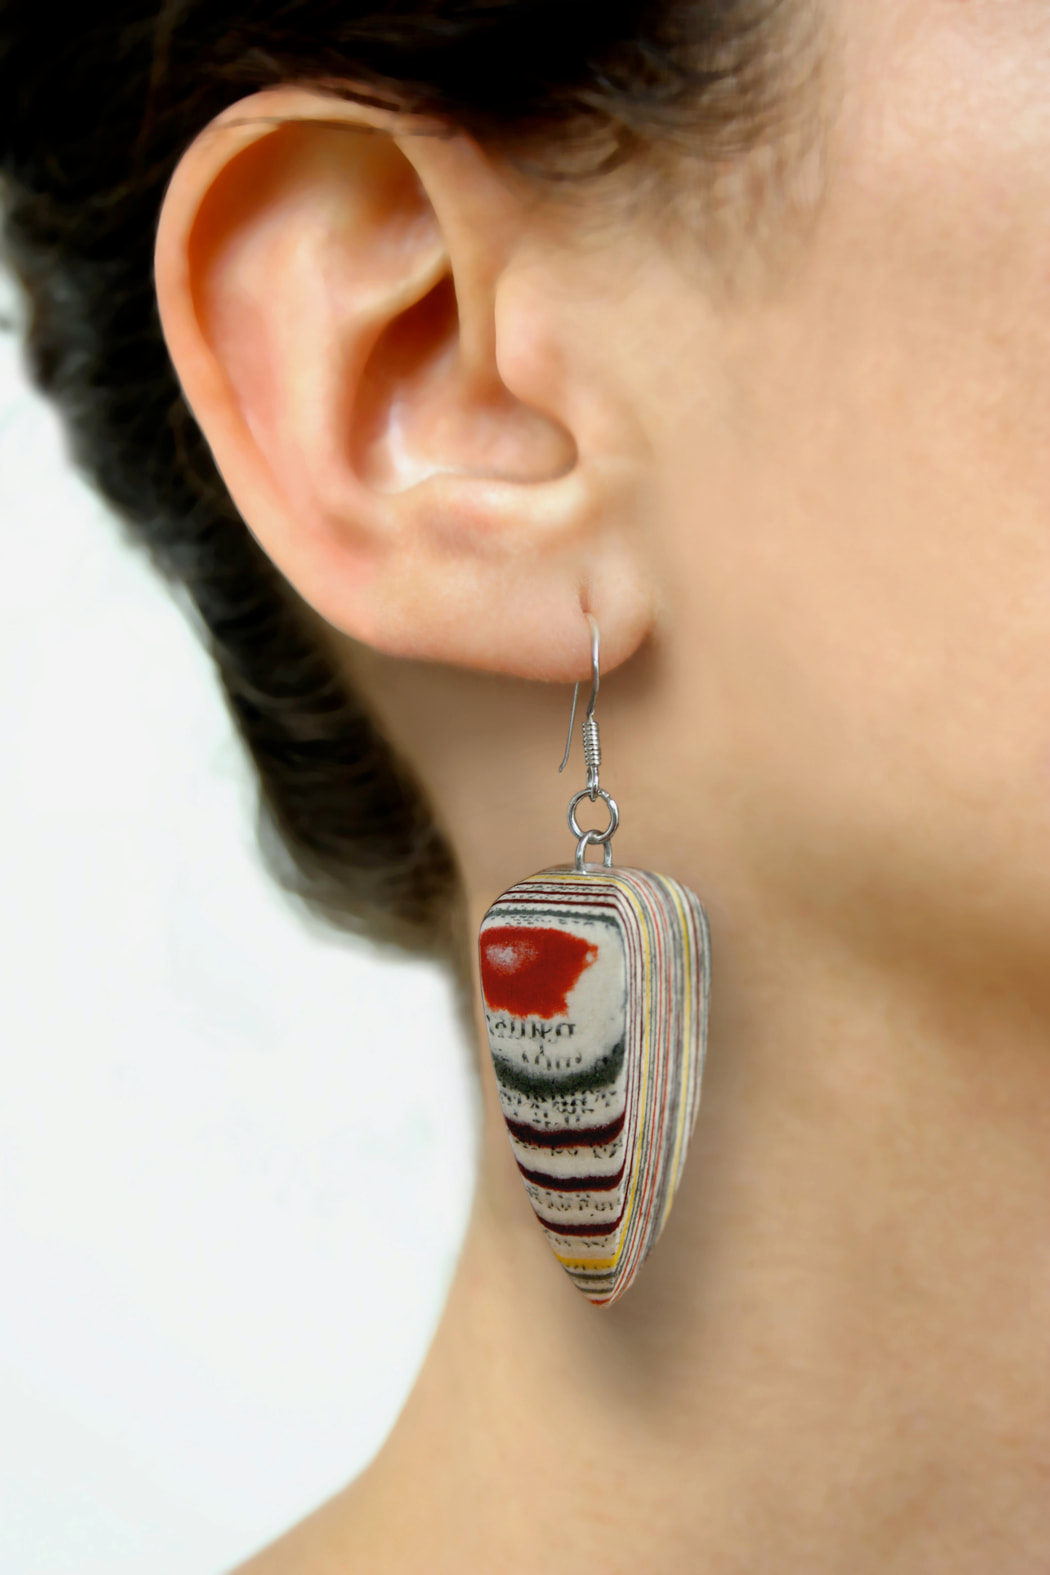
Earrings
|
|
|
Pendents
Pendents often represent, hobbies, sports, holidays, students initials, animals, etc.
example: music: guitar, musical notes, a treble clef, a violin.
Still don't understand the Layered Paper process?
Watch the video.
Notice the artist has created her own wire brackets to hold her pendants.

