Assignment:
Shoot a series of Natural Light Photos hand in your 5 best.
2 Window Light photos
2 Backlit photos
1 Sun-flare photo
What Exactly is Natural Light?
The most basic and important form of light is natural light, generally referring to any light created by sunlight.
There are 4 main four main characteristics that are used to categorize light;
direction, color, intensity, and quality.
Direction
Direction depends on the time of day, the direction of light changes due to the sun’s movement. Given that the the sun is below the horizon at dawn and twilight, almost horizontal at sunrise, and is highest and nearly vertical midday, photographing at these different times of day produces largely different images. Direction can also be controlled by where you place your camera, and if you use a bounce to reflect the light toward your subject.
Color
Color temperature refers to the various shades of color that are produced by different light sources. Color temperature changes throughout the day, depending on the time and the amount of clouds in the sky. At dawn, the sky often appears light blue. At sunset, the sky appears orange; and at dusk, the sky can appear violet-blue.
Intensity
The intensity of light is a measure of its harshness or brightness and determines how much light is present in a scene. Intensity is sometimes referred to as “quantity of light.”
Quality
Quality encompasses the other characteristics and can either be classified as hard/direct or soft/diffused. The smaller the light source is compared to a subject, the harder the quality. As the light spreads and becomes bigger, the quality also becomes softer. If clouds are covering the sun, you will have a softer diffused light.
Direction: Direct the Light by
Shooting using Window Light
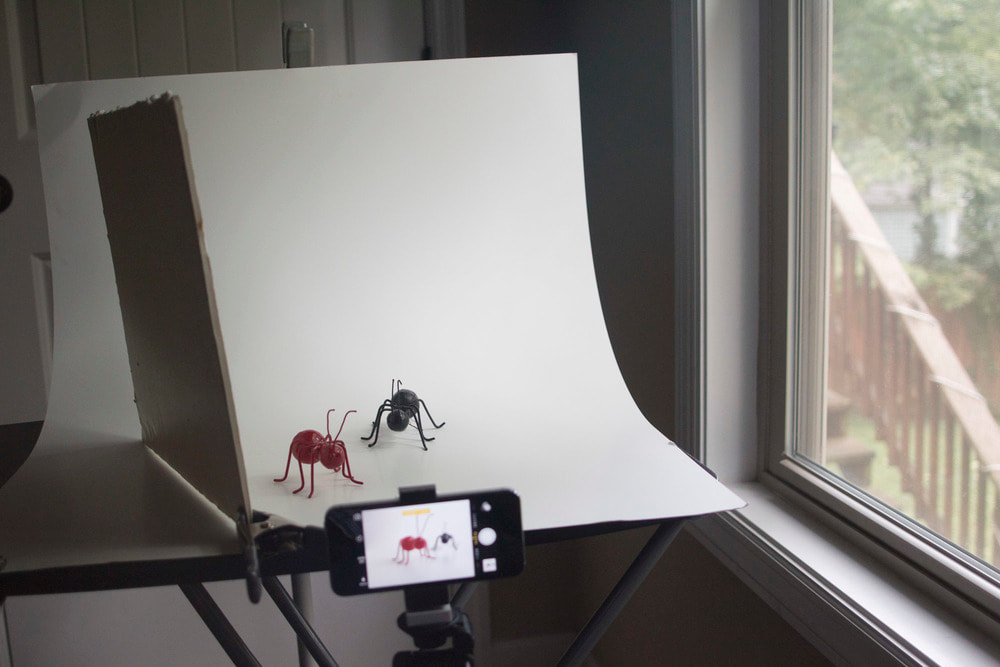
Soft Window Light
This window light set up uses a white background and white reflector to create a soft diffused lighting effect.
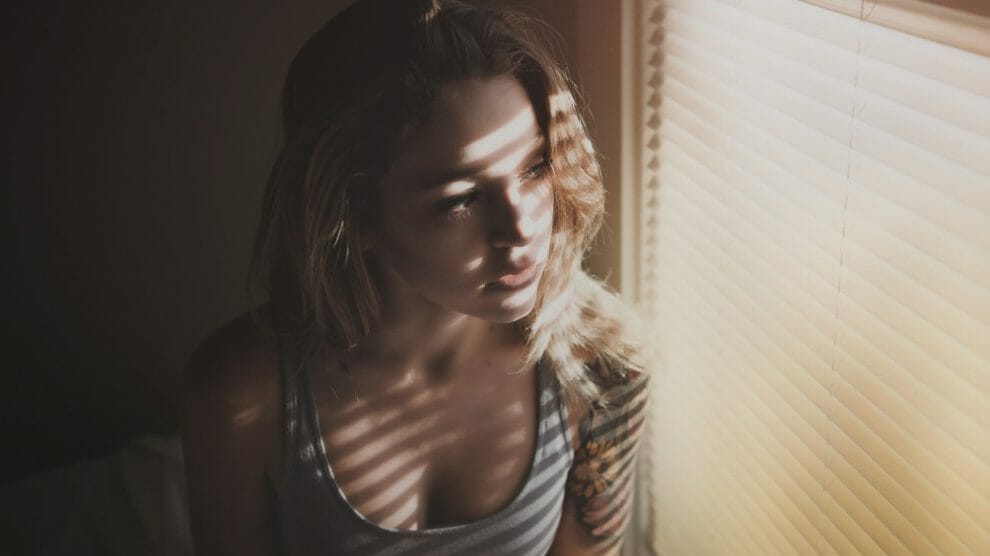
Hard Window Light
Shooting using window lighting can help control where the light comes from and create interesting shadows. This window light creates hard artistic shadows across the subject.

|
|
Window light can make a photo appear more dramatic.
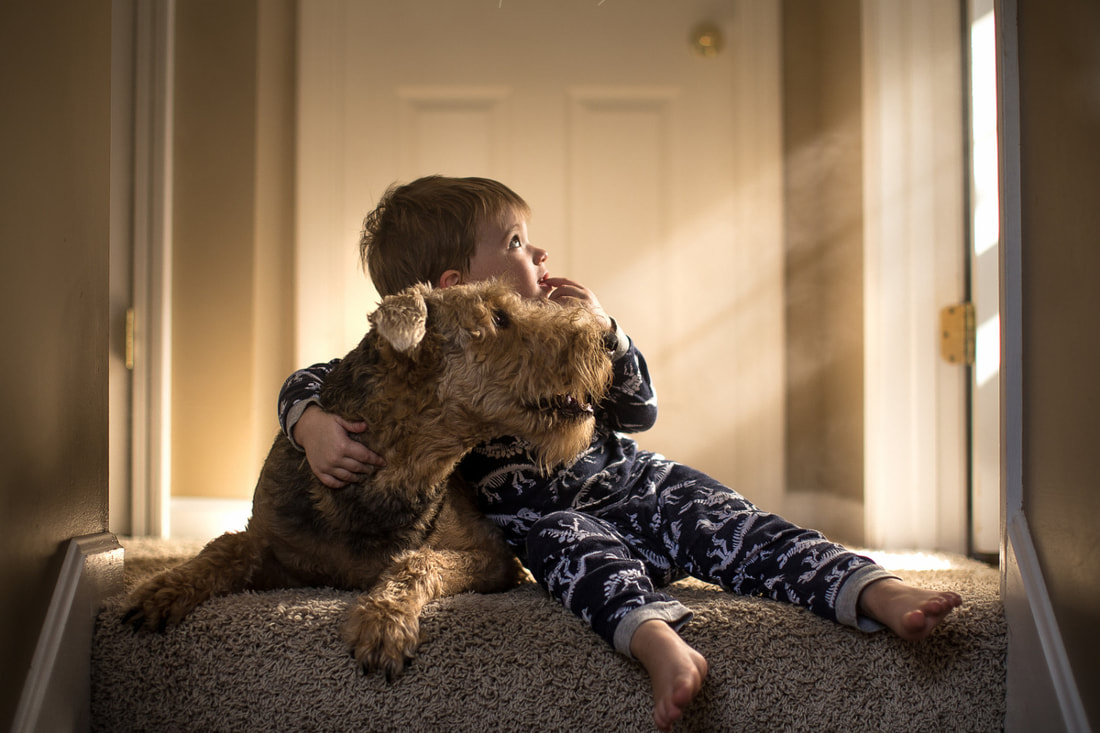
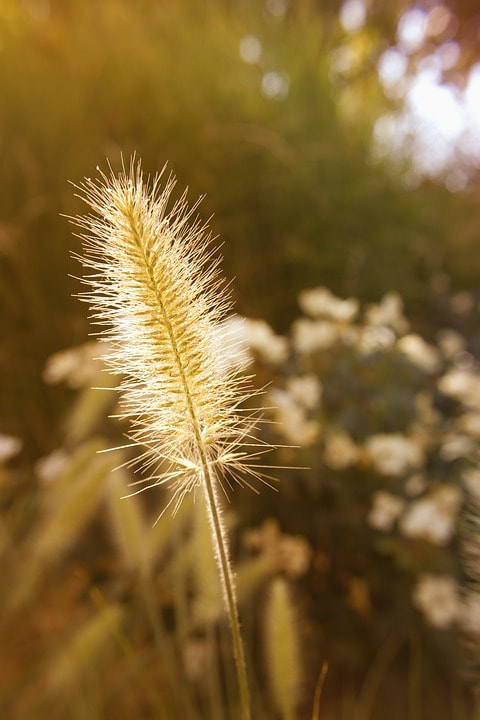
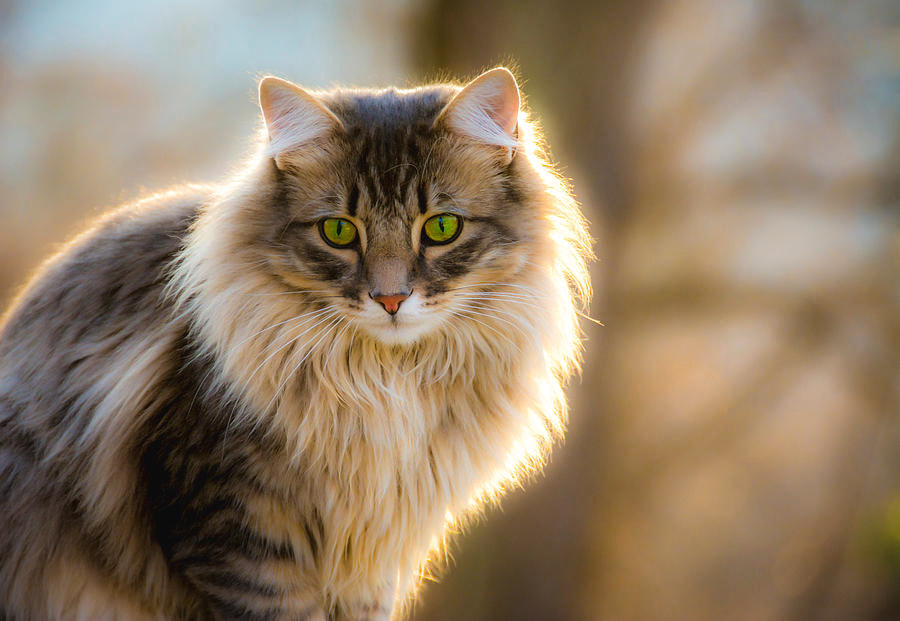
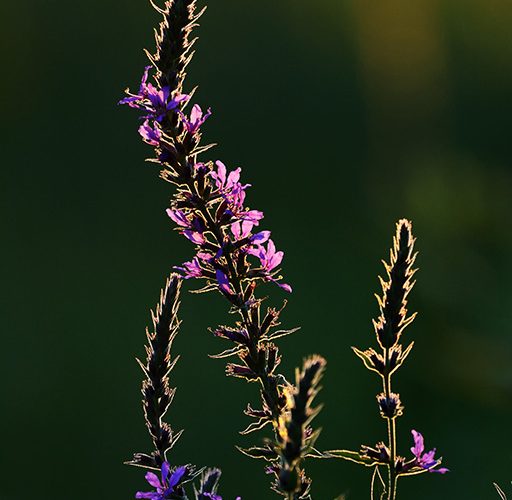
Direction: Backlit
Shooting towards the sun makes a models hair glow.
Be careful that you still have enough lite on your subjects face.
Sometimes a photographer will use an assistant holding a reflector to better light the models face.
|
|
These backlit photos show how you can make small hairs stand out and glow from flowers to pets.
Sun Flares / Lens Flares
Avoiding Sun-flares
When using back light be careful to avoid 'sun flare' which traditionally was considered a mistake of not using a lens hood or your hand to shield the sun from reflecting off your lens.
Artistic Sun-flares
Photographers will often try an create a sun flare by using a small aperture on your camera lens or even create fake sun flares in Photoshop or camera phone apps.
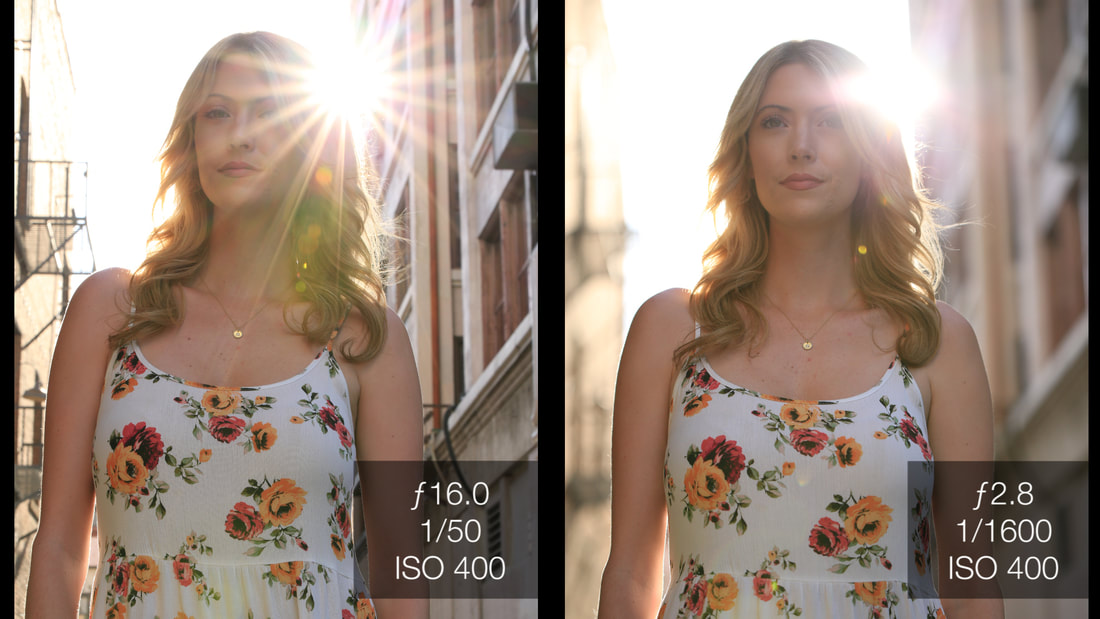
Shooting at f/16 you can create a more dramatic lens flare.

